The Xubuntu team is very proud and happy to announce the release of Xubuntu 12.04, codenamed Precise Pangolin! Xubuntu 12.04 is a Long Term Support release (LTS) and will be supported for three years per the Xubuntu LTS plan.
For support with the release, navigate to Help & Support for a full listing of methods to get help.
To see the complete release notes along with list of updates and issues in common infrastructure and more, please refer to the Xubuntu release notes at the Ubuntu wiki.
Release notes
- The i386 images use a non-PAE kernel. The non-PAE kernel will not be available in future Xubuntu releases.
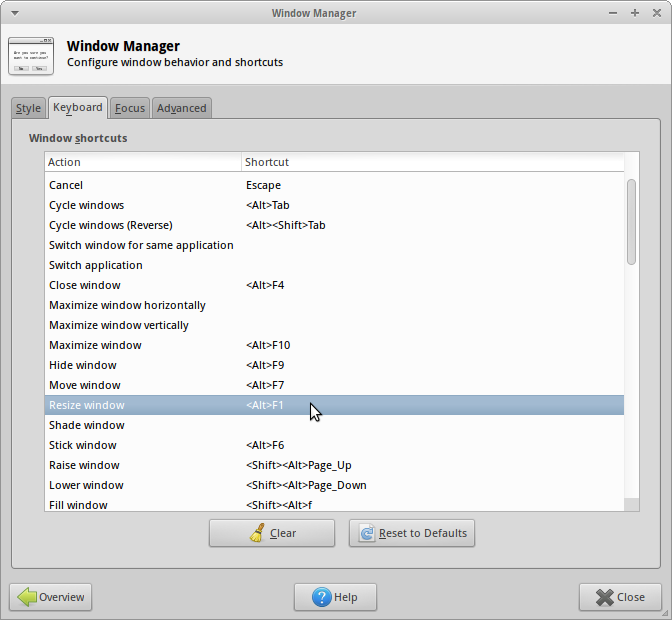
- Some default shortcuts have been changed, added and deleted. See New default shortcut keys for the complete list.
- Pavucontrol is used instead of xfce4-mixer due to latter not supporting Pulseaudio
- The Alacarte menu editor is installed by default and will work with Xfce-related menu items as well
- Lots of appearance improvements, including new branding, fixes for Greybird, Ubiquity, Plymouth, LightDM and Terminal theming
- Syncs, updates and patches from Debian and upstream, including xfce4-power-manager, Ristretto and gmusicbrowser
- xfdesktop4 updated to support single-click opening and thumbnail support for the desktop
- xfce4-settings has been updated to include the new mouse and touchpad dialog
New default shortcut keys
Max window horiz.
Max. window vert.
Max. window (h+v)
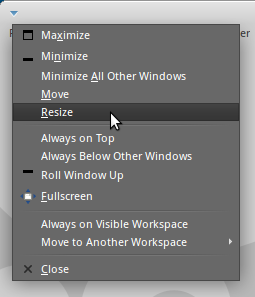
In addition, you can stick a window (making it appear in all workspaces) with Alt F8. The shortcuts for moving and resizing windows have been removed in favor of more powerful mouse gestures. Naturally, if you need these shortcuts, you can enable them from the Settings Manager.
Firefox
Thunderbird
Thunar
Terminal
The aforementioned shortcuts are bound to exo-open launchers. This means they will always open any browser, mail reader, file manager or terminal emulator you have set as the default. In addition, there is six new application shortcut keys:
- Super R for Application finder
- Super E for Leafpad
- Super 1 for Gmusicbrowser
- Super 2 for Pidgin
- Super 3 for Abiword
- Super 4 for Gnumeric
Known issues
Problems with keyboard shortcuts after upgrading
There is a change in how the shortcuts are handled, which will render all shortcuts with the Control key ususable on upgrade. To fix this, you need to update all your current shortcuts with Control: In Settings Manager » Keyboard » tab Application shortcuts, double click on the Shortcut column where it reads <Control> and press the (same) key combination. This will change the part <Control> to <Primary> and the shortcut will work again. The other option is to revert the keyboard shortcut settings back to defaults and readd your custom shortcuts.
Some users might experience problems with any other keyboard shortcuts as well. To fix this, you need to revert the keyboard shortcut settings back to defaults and readd your custom shortcuts.